Photography overlays are the fastest way to transform a plain woodland shot into something that looks genuinely mystical — but most crafters and bloggers using them are applying them wrong. The overlay does the heavy lifting. The technique is either working with it or against it.
This guide covers what mystical forest photography overlays are, which styles actually work for dark and moody edits, and how to apply them correctly in Photoshop and Canva without over-processing your images into noise.
What are mystical forest photography overlays? Transparent PNG files — fog, light rays, bokeh, fireflies, atmospheric particles — that layer over your photos to create a moody, enchanted forest look. Used in Photoshop (as layers), Canva (as elements), and Procreate. Most quality packs include 10–20 individual PNG overlays at 300 DPI with commercial licence.
What Are Photography Overlays and Why Do They Work?
An overlay is a transparent PNG or TIFF file designed to be placed over a photograph as a separate layer. Unlike filters — which apply a colour grade uniformly — overlays add physical elements: actual fog shapes, light ray geometry, particle clusters, foliage silhouettes.
The reason they work for mystical forest edits specifically: a forest photograph almost always has the structural elements — trees, light angles, shadow areas — but lacks the atmospheric density that makes a scene feel genuinely enchanted. An overlay adds that density without altering the underlying image.
Done well, you can’t tell the overlay was added. Done badly, it sits on top like a sticker. The difference is almost always blending mode and opacity — not the overlay quality itself.
Which Mystical Forest Overlay Styles Work Best for Moody Edits?
There are six distinct overlay types used in mystical forest photography — each solves a different atmospheric problem:
- Fog/mist overlays — the most versatile. Soft, directional mist that fills shadow areas and distances background elements. Use at Soft Light or Screen blend mode, 35–55% opacity. Overuse makes images look grey, not atmospheric.
- God rays / light shafts — diagonal light beams entering from above or the side. Work only if there’s an implied light source in the original photo. Blend mode: Screen. Never Overlay — it destroys midtones.
- Bokeh particle overlays — out-of-focus light orbs that suggest depth and magic. Work better in darker images. Blend mode: Screen. Too many orbs = amateur. One cluster, positioned deliberately.
- Firefly/ember clusters — small warm-toned particles, glowing. Best for night or dusk images. Screen mode at 50–70%. A genuinely moody overlay that most photographers underuse.
- Foliage silhouettes — branches, ferns, vines — placed at the edge of frame to add depth layers. Multiply mode at 40–60%. Adds the layered, enclosed-canopy quality dark forest photos need.
- Dark vignette textures — grunge, ink, darkness that pushes into the edges of a frame. Multiply mode. Use sparingly — their purpose is focus direction, not mood.
What Are the Best Overlay Types for Dark Forest Edits?
For a genuine dark forest look — moody, atmospheric, slightly folkloric — the combination that works most reliably:
- Start with a cool-toned base (your photo should already lean towards deep greens or blue-shadows before any overlay work)
- Add a directional fog overlay at Screen mode, 40% opacity — this is your foundation atmospheric layer
- Add god rays if your light source justifies it — Screen mode, 25% opacity maximum for a subtle effect
- Add one foliage silhouette at the top or sides of frame — Multiply mode, 50% — to close in the canopy
- Optional: a single firefly cluster at Screen mode, 60%, positioned in the mid-distance
The overlays below are instant-download PNG files from Creative Fabrica — commercial licence included, transparent background, compatible with Photoshop, Canva, and Procreate. Download directly, layer over your photo, adjust blend mode and opacity per the guide above.
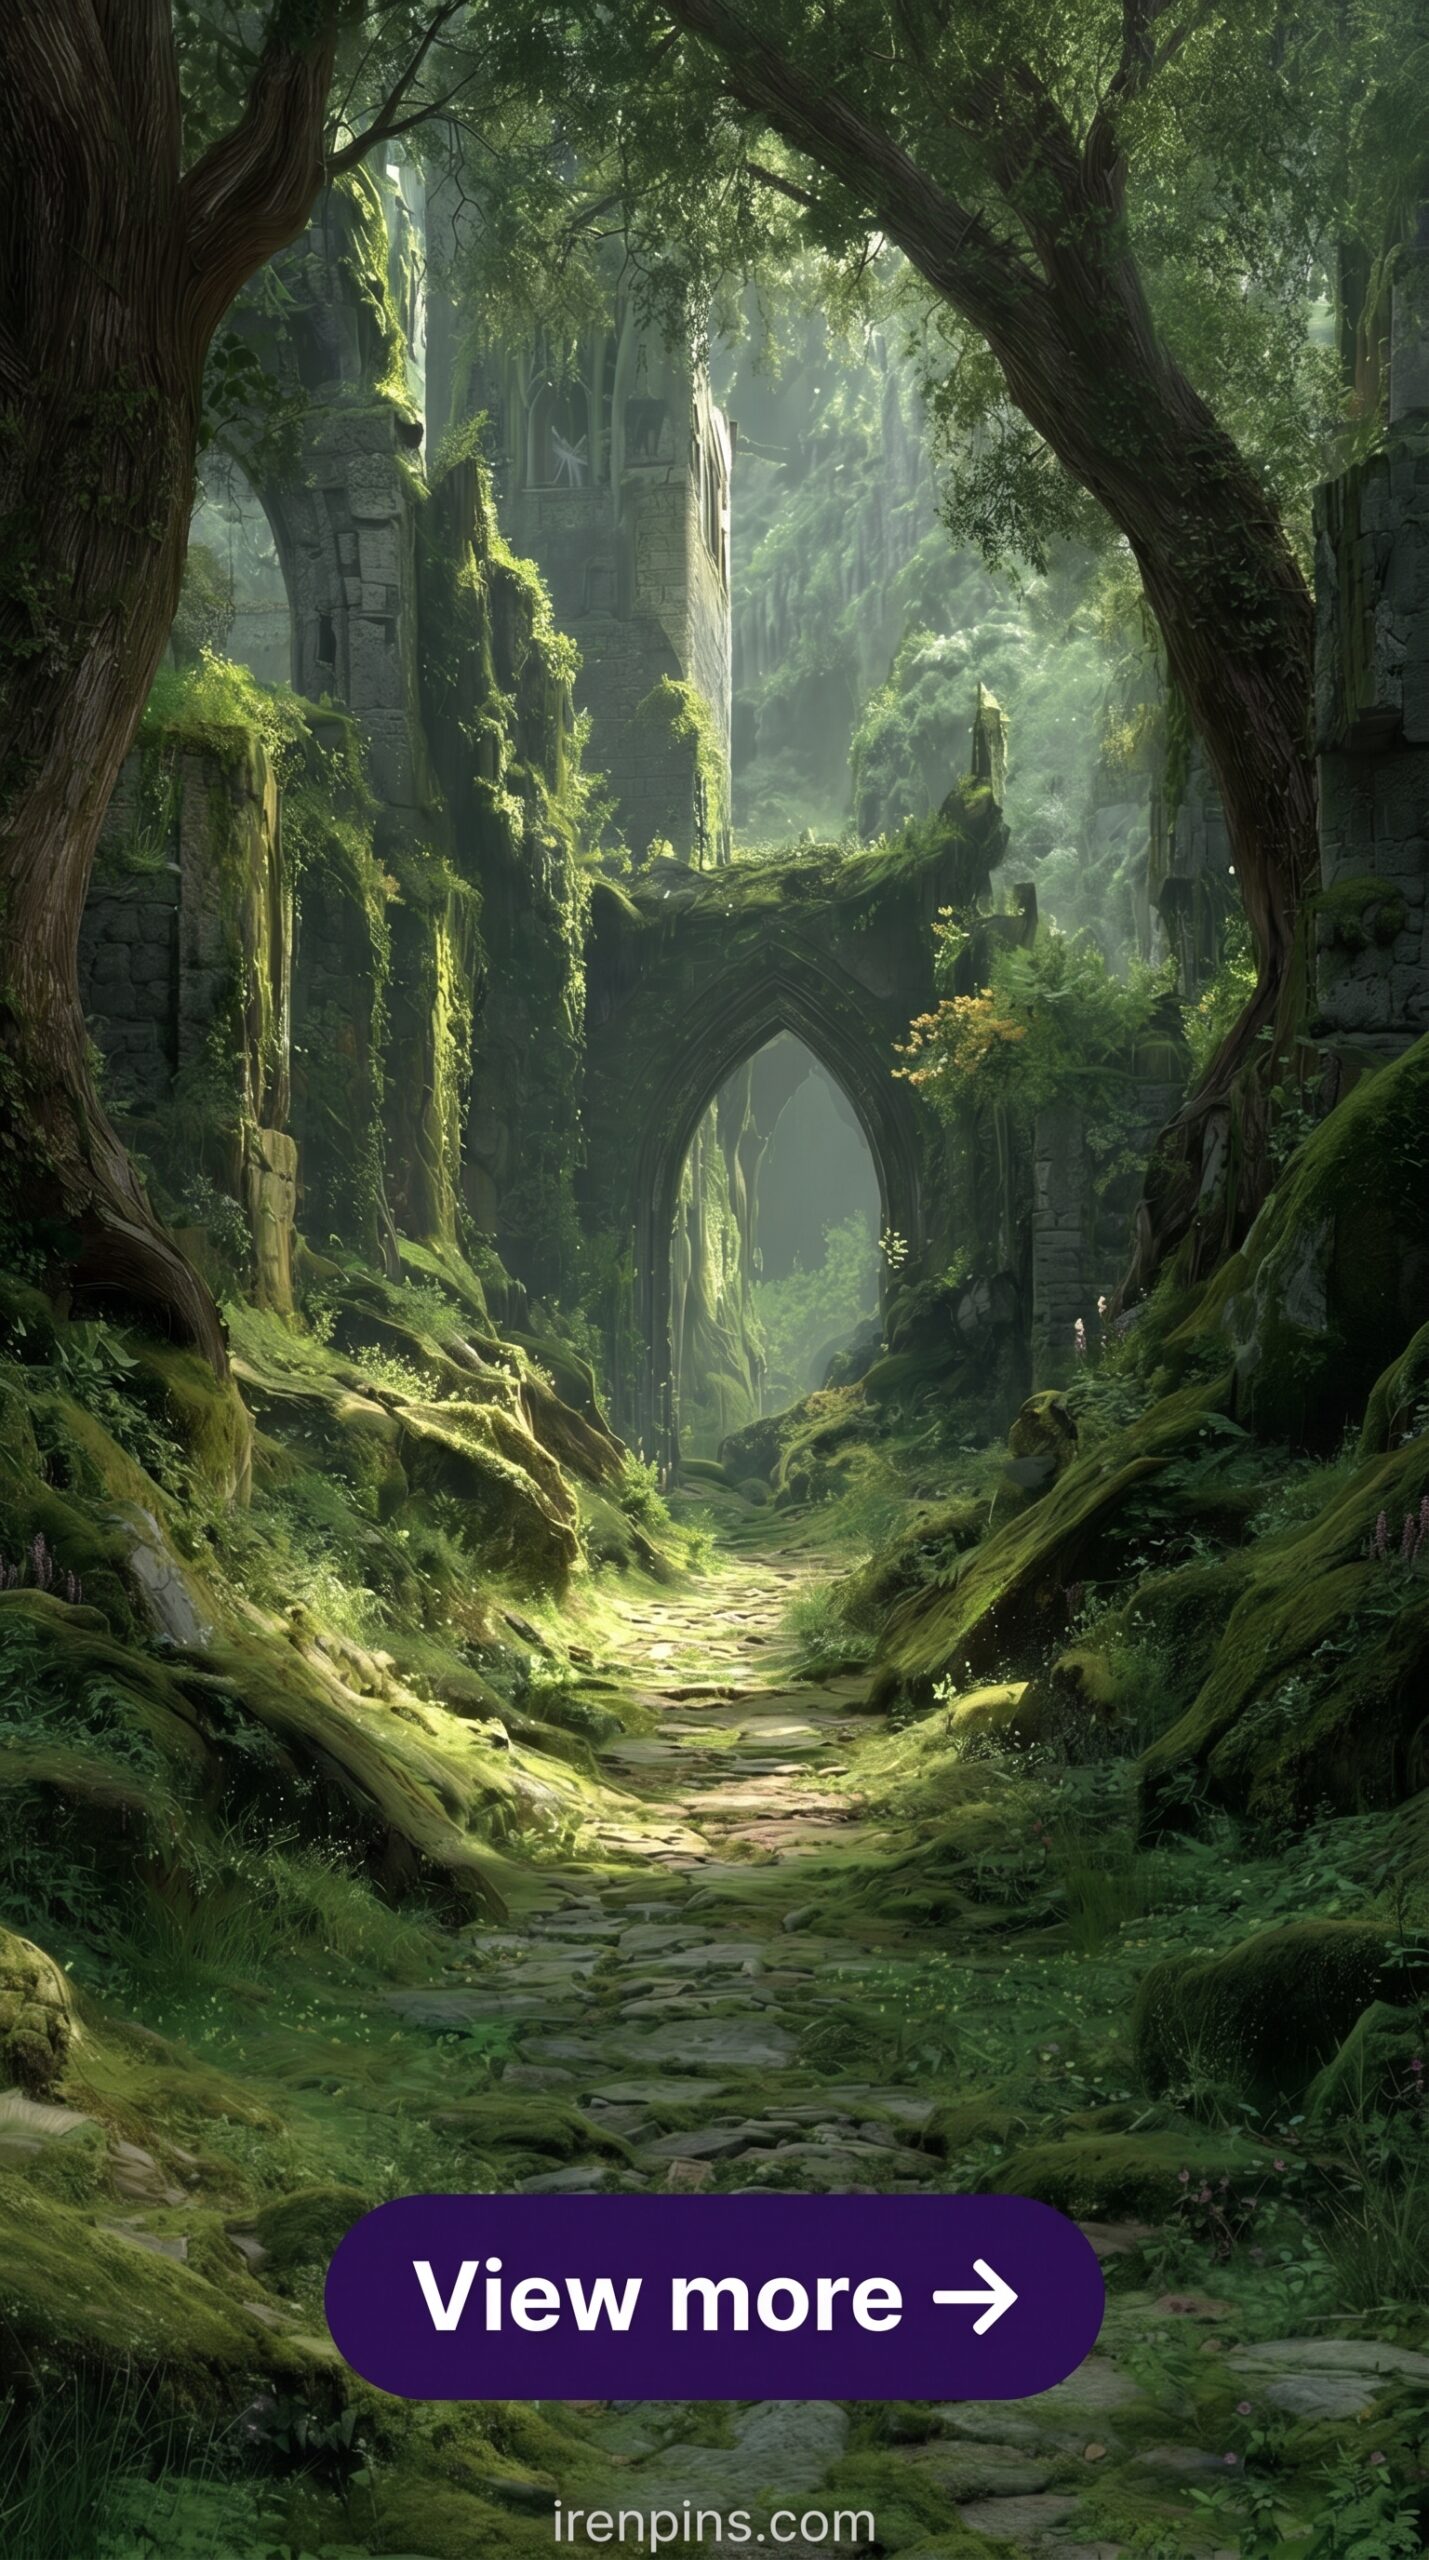
Forest Path Fog Overlay Pack
Directional mist on a mossy path — the kind that actually matches the light angle of a real woodland shot rather than sitting on top of it.
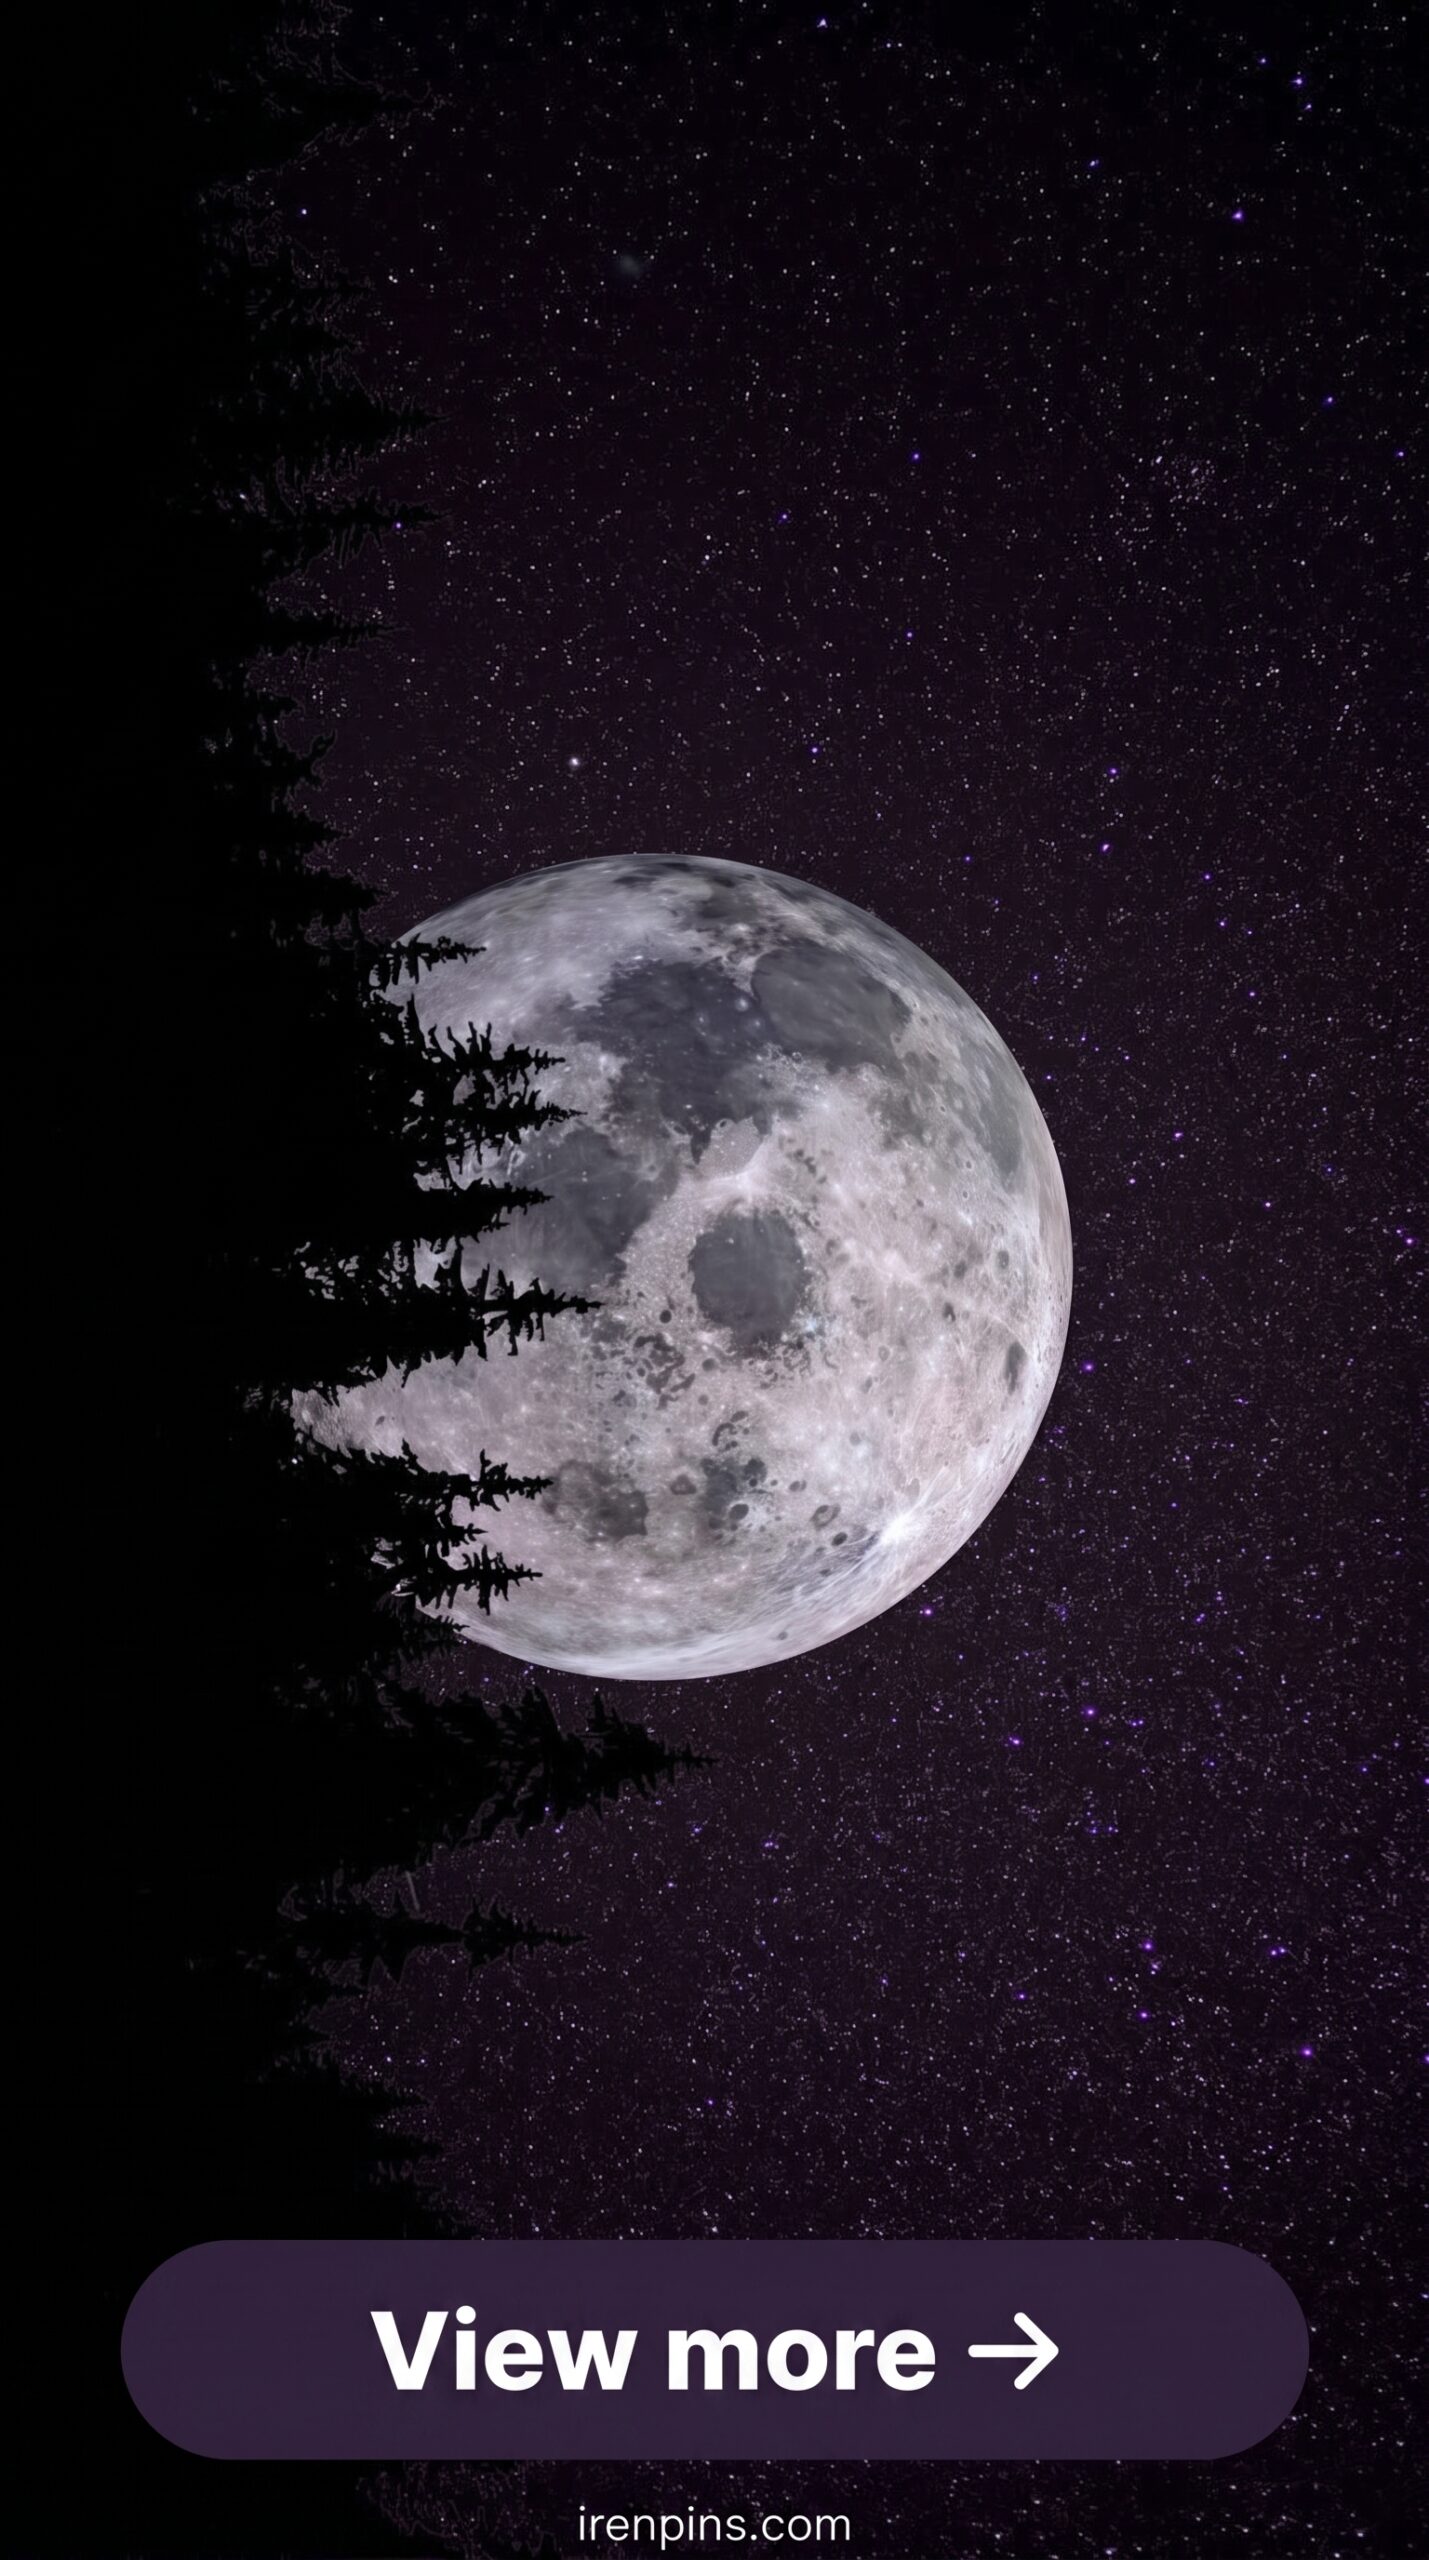
Moonlit Forest Atmosphere Overlay
Cool blue-silver moonlight through tree canopy — works as both an overlay and a standalone digital background at 4K resolution.
Browse Mystical Forest Overlays on Creative Fabrica →
How Do You Apply Overlays in Photoshop and Canva?
Photoshop: Open your base photo. File → Place Embedded → select your PNG overlay. The overlay comes in as a Smart Object layer. Set blend mode to Screen (for light overlays) or Multiply (for dark/foliage overlays). Adjust opacity. If the overlay has areas that don’t blend well, add a layer mask and brush out those spots at 20% flow — never erase hard.
Canva: Upload your PNG overlay as a custom element. Place it over your photo. In Canva, blend mode controls are limited on the free plan — you get transparency (opacity) but not full blend mode control. For the best results in Canva, use overlays that were specifically designed for screen blending (light-effect overlays: fog, fireflies, god rays) rather than dark foliage overlays, which need Multiply mode to work properly.

How Do You Pair Overlays with Digital Paper Backgrounds?
Pairing photography overlays with digital paper backgrounds is a technique used heavily in scrapbooking and editorial mockups. The formula that works:
- Use an atmospheric (not detailed) paper background — dark moss or misty canopy tile — as your base
- Place your photograph above it, set the photo layer to Multiply at 70–80%
- Add your fog overlay above the photo layer at Screen, 40%
- Add a foliage silhouette overlay at the edge of the frame, Multiply, 50%
The paper provides palette anchoring. The photo provides the realist grounding. The overlays provide the atmosphere. No single layer does everything — that’s the point.
Looking for more dark woodland assets? Our dark forest aesthetic guide covers the full visual asset vocabulary — digital paper, SVG bundles, and clipart — and our enchanted forest digital paper article focuses specifically on background paper layering techniques.
Download Forest Photography Overlays on Creative Fabrica →
Key Takeaways
- Creative Fabrica’s free plan includes photography overlay PNG downloads — no payment required to access the rotating free selection
- Blend mode determines everything: Screen for light-based overlays (fog, god rays, fireflies), Multiply for dark foliage and vignette overlays
- The most effective mystical forest edit uses 3–4 overlays at low opacity rather than one overlay at full strength
- Commercial licence is included on CF overlay files — usable in Etsy products, client work, and POD mockup images
Frequently Asked Questions
What are mystical forest photography overlays?
Transparent PNG files — fog, light rays, fireflies, foliage silhouettes — that layer over your photos to create a moody, atmospheric forest look. They work in Photoshop, Canva, and Procreate. Quality packs include 10–20 individual PNG overlays at 300 DPI with commercial licence.
How do I apply a fog overlay in Photoshop?
Place the PNG overlay above your base photo layer. Set blend mode to Screen. Set opacity to 35–55%. If the effect is too strong in some areas, add a layer mask and brush at 20% flow to reduce it locally. Never hard-erase — the transitions will look digital.
Can I use photography overlays in Canva?
Yes, but with limitations. Upload the PNG as a custom element and place over your photo. Canva’s blend mode options are limited on the free plan — opacity control only. For best results in Canva, use light-effect overlays (fog, fireflies, god rays) rather than dark foliage overlays, which require Multiply mode to blend properly.
What blend mode should I use for forest photography overlays?
Screen for light-based overlays (fog, mist, god rays, fireflies, bokeh). Multiply for dark overlays (foliage silhouettes, vignette textures, ink splatter). Never use Overlay mode for photographic atmospheric overlays — it destroys midtone values.
Are forest photography overlays commercial use?
On Creative Fabrica, yes — commercial licence is included with all overlay files. You can use them in products sold on Etsy, in client photography work, and in POD mockups. Check individual listings for any specific restrictions, but commercial use is the standard.